Capturing the Calm of a Forest Stream: A Coloring Adventure
Embrace Mindful Coloring with a Woodland Waterway
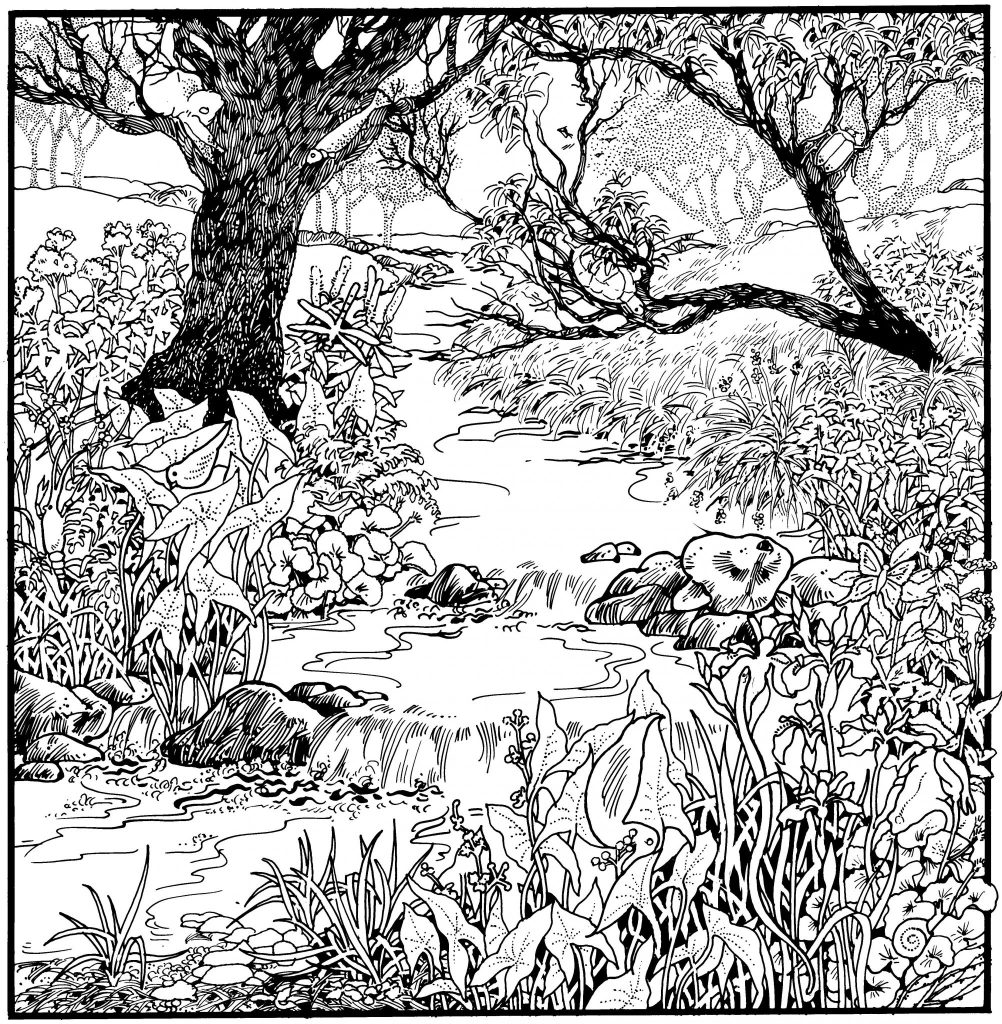
Have you ever felt the tension melt away as you lose yourself in a nature scene? Our intricate forest stream illustration—brimming with winding water, river rocks, and lush riparian plants—invites you to swap screen glare for colored pencils. Coloring this serene landscape isn’t just about filling spaces; it’s a mini-retreat for your mind. In this guide, we’ll explore how to bring the scene to life, from selecting a soothing palette to mastering water reflections and textured foliage.
Discover the Magic of Nature Coloring Pages
Coloring detailed woodland scenes taps into our deep connection with nature, even when we’re indoors. Studies show that nature-themed coloring reduces stress, boosts focus, and sparks creativity. By focusing on flowing waterlines, overlapping leaves, and delicate wildflowers, you practice mindfulness: each pencil stroke anchors you in the moment, quieting mental chatter and inviting calm.
Unpacking the Forest Stream Illustration
Before you reach for those colored pencils, let’s take in the scene’s key elements:
- Meandering Stream:The central ribbon of water, framed by smooth river stones, beckons you to capture its gentle flow.
- Riverside Vegetation:Tangles of grasses, ferns, and broadleaf plants line the banks, offering endless textural variety.
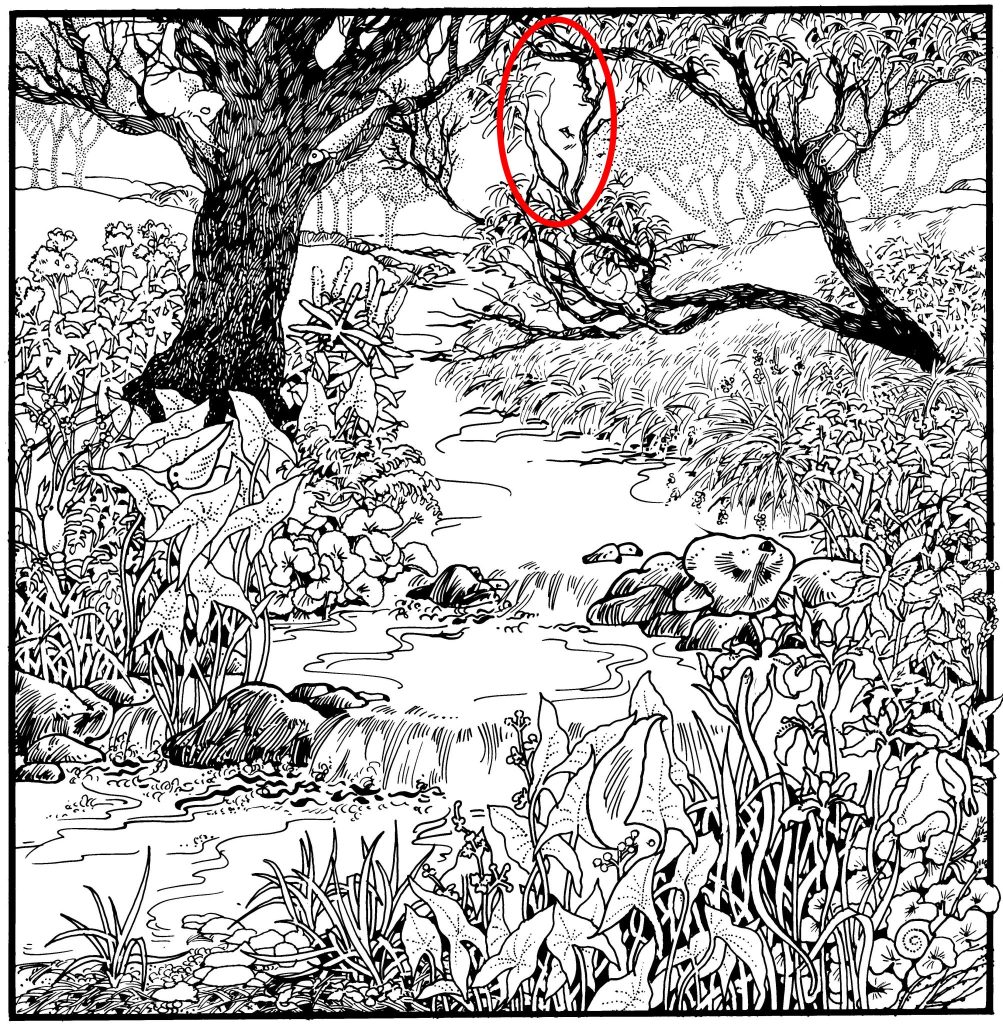
- Textured Tree Trunks:Two prominent trees anchor the composition, their intricate bark patterns ready for fine-line shading.
- Distant Woodland:Faint, dotted treelines in the background suggest depth and invite subtle, muted coloring to push them back visually.
Understanding each section helps you plan your approach—ensuring you balance attention between foreground detail and background harmony.
Choosing Your Color Palette: From Earthy to Dreamlike
Your palette sets the mood. Here are three approaches:
- Natural Realism:Greens ranging from olive to forest, browns from warm sienna to cool umber, and water tones of teal and cerulean. Subtle greys on stones and soft blues in distant trees maintain an authentic vibe.
- Sunset Glow:Layer golden yellows, peach, and lavender across the sky (if you choose to tint it), then echo those warm tones in foliage highlights and water reflections—transforming the scene into dusk’s embrace.
- Whimsical Fantasy:Dare to use unexpected hues: mint green grasses, lavender water, or rosy bark. This playful approach emphasizes creativity over literal accuracy, perfect for a lighthearted mood boost.
Whatever palette you select, aim for cohesion: repeat select hues in multiple areas to guide the viewer’s eye.
Techniques for Realistic Water Effects
Water can be tricky—but with a few simple tricks, you’ll achieve convincing flow:
- Base Layer:Start with a mid-tone blue or teal across the stream’s surface.
- Highlight Ripples:Lightly erase or lift color along the water’s contour lines using a white pencil or blending stump to simulate gentle ripples.
- Add Reflections:Pick up hints of adjacent colors—greens from grasses, browns from trunks—and scatter faint strokes along the water’s edge without blending fully.
- Shadow Depth:Deepen the stream’s curve bottoms with a darker blue or gray, focusing under rocks and bank overhangs to enhance the illusion of depth.
By alternating soft blending and crisp highlights, you’ll recreate the living sparkle of moving water.
Bringing Foliage to Life with Textures
The banks teem with plants; capture their diversity by varying your mark-making:
- Grasses and Sedges:Use upward flicks of green pencil, blending multiple shades to suggest layered blades.
- Broad Leaves:Shade the leaf’s midrib first, then add veins with a fine-point pencil. Smooth transitions from dark at the base to light at the tip give a three-dimensional feel.
- Ferns and Flower Clusters:Outline individual fronds or petals lightly, then shade the undersides for depth. A tiny dotting technique can mimic clusters of small blooms.
Rotating your pencil grip—from flat edge for broad strokes to sharp point for fine lines—keeps textures varied and organic.
Shading Tree Trunks and Rocks
Don’t overlook the sturdy elements that ground the scene:
- Bark Details:Follow the trunk’s natural grain. Layer dark hatching in recessed grooves, then softly blend with a stump to suggest age and rugged texture.
- Rock Surfaces:Observe each stone’s shape. Shade halfway around its contour, leaving a crescent of highlight opposite your light source. Speckle with gray or brown dots for a weathered look.
Consistent light-direction—say, from top left—keeps your shadows and highlights coherent across trees and stones.
Depth and Atmosphere: Pushing the Background Back
To create a sense of distance:
- Desaturate Background Trees:Use pale greens or gray-blues for the faint treeline, avoiding bold contrast.
- Light Layering:Apply minimal layers of color, letting paper’s white show through for a misty effect.
- Soft Edges:Blend trunks and leaves gently in the background, contrasting with crisper lines in the foreground.
This atmospheric perspective ensures the viewer feels enveloped by the forest’s depth.
Conclusion: Your Personal Woodland Retreat
Coloring this forest stream scene is more than an artistic exercise—it’s a mini escape into nature’s tranquility. From the gentle flow of water to the riot of textures in leaves and bark, each detail offers a moment of mindful focus. As you apply your chosen palette and practice these shading techniques, you’ll not only craft a stunning artwork but also enjoy the restorative calm that only a woodland coloring journey can provide. So gather your favorite supplies, find a cozy spot, and let the forest’s gentle whispers guide your pencils. Happy coloring!